Setting up an integration in Azure Pipelines
The steps to take to integrate Azure Pipelines with Scribe Hub
-
If you haven't yet done so, open a free Scribe Hub account here.
-
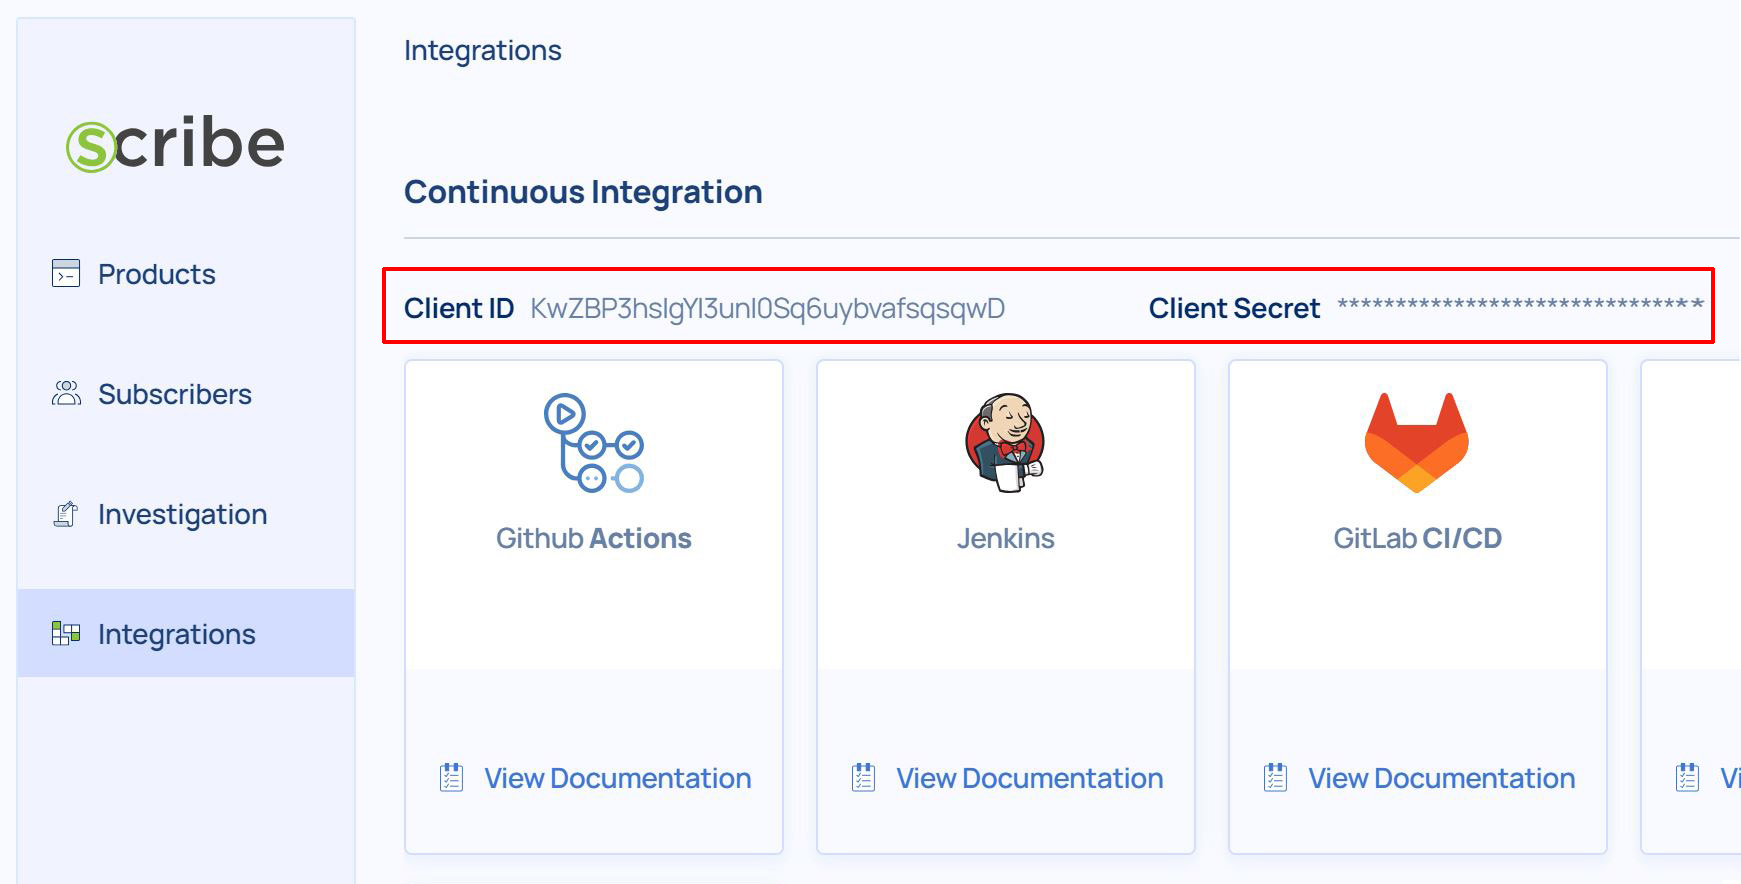
Get your Client Secret credentials from your Scribe Hub Integrations page.
-
Login to your Azure account.
-
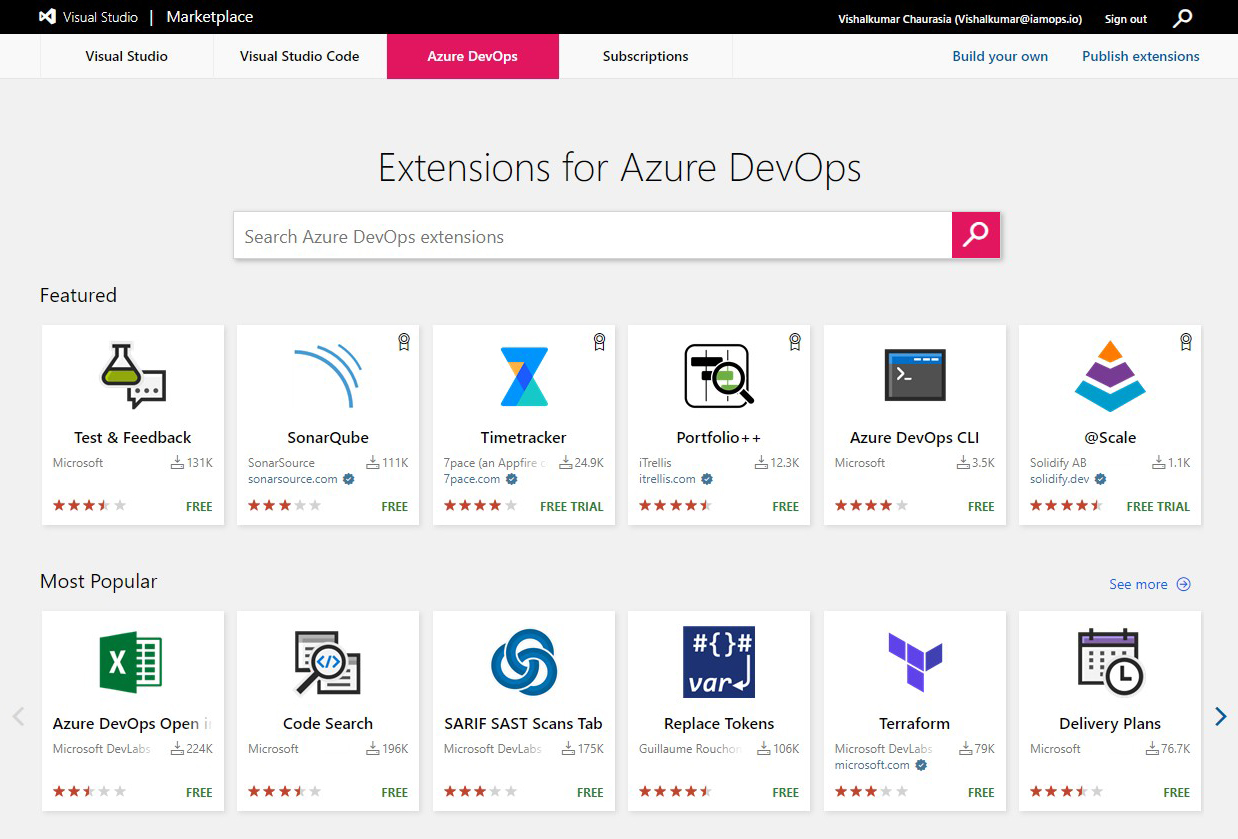
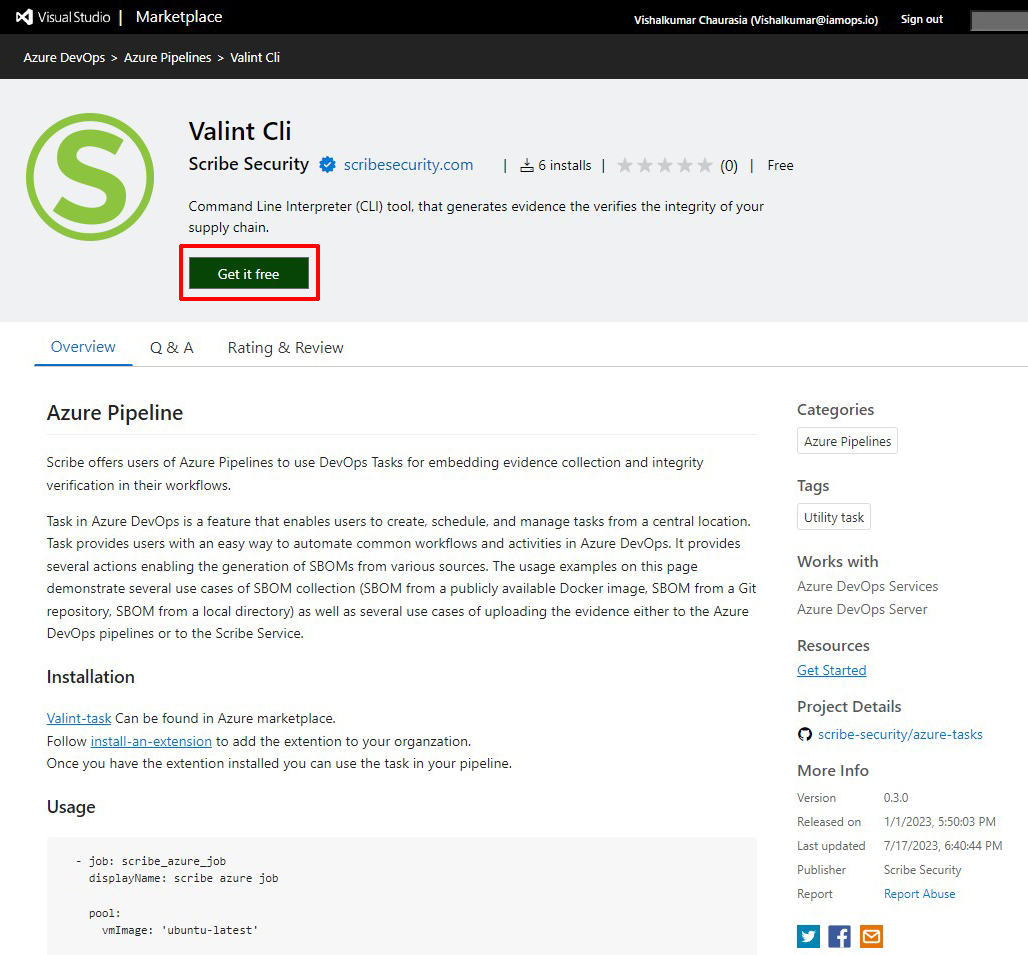
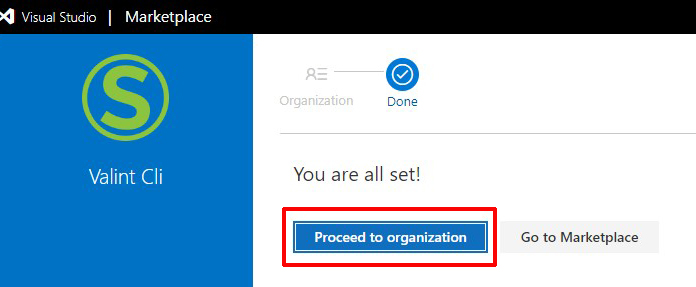
Follow the install-an-extension instructions to install our Valint-task from the Azure marketplace.


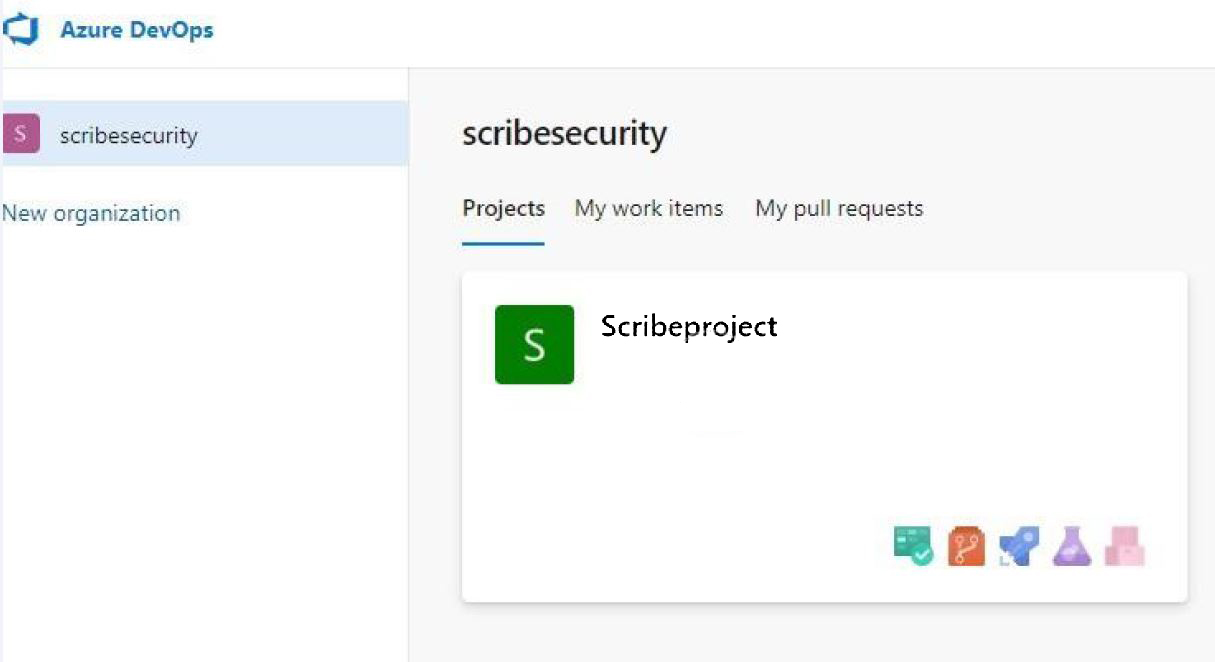
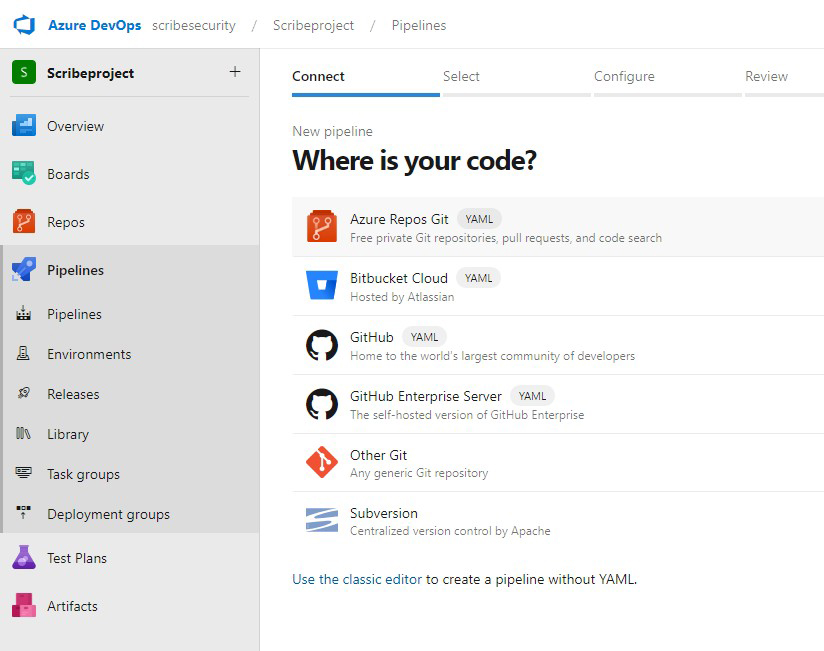
- Create a new project or go to an existing project
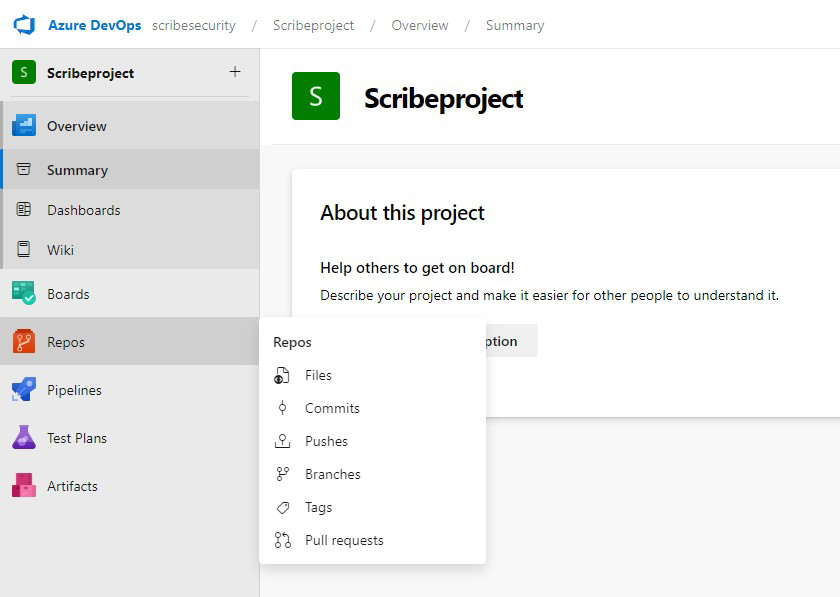
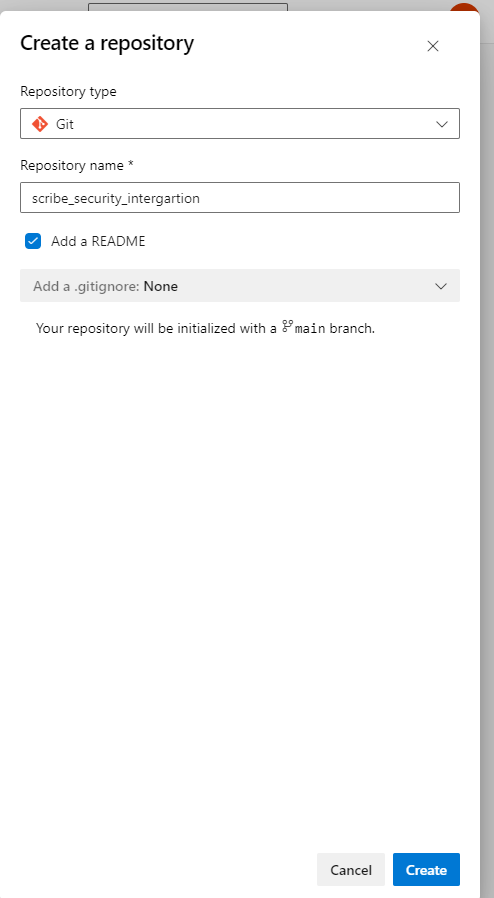
- Inside the project create a new repository (repo) if you don't already have one you want to use Valint with an Azure pipeline on
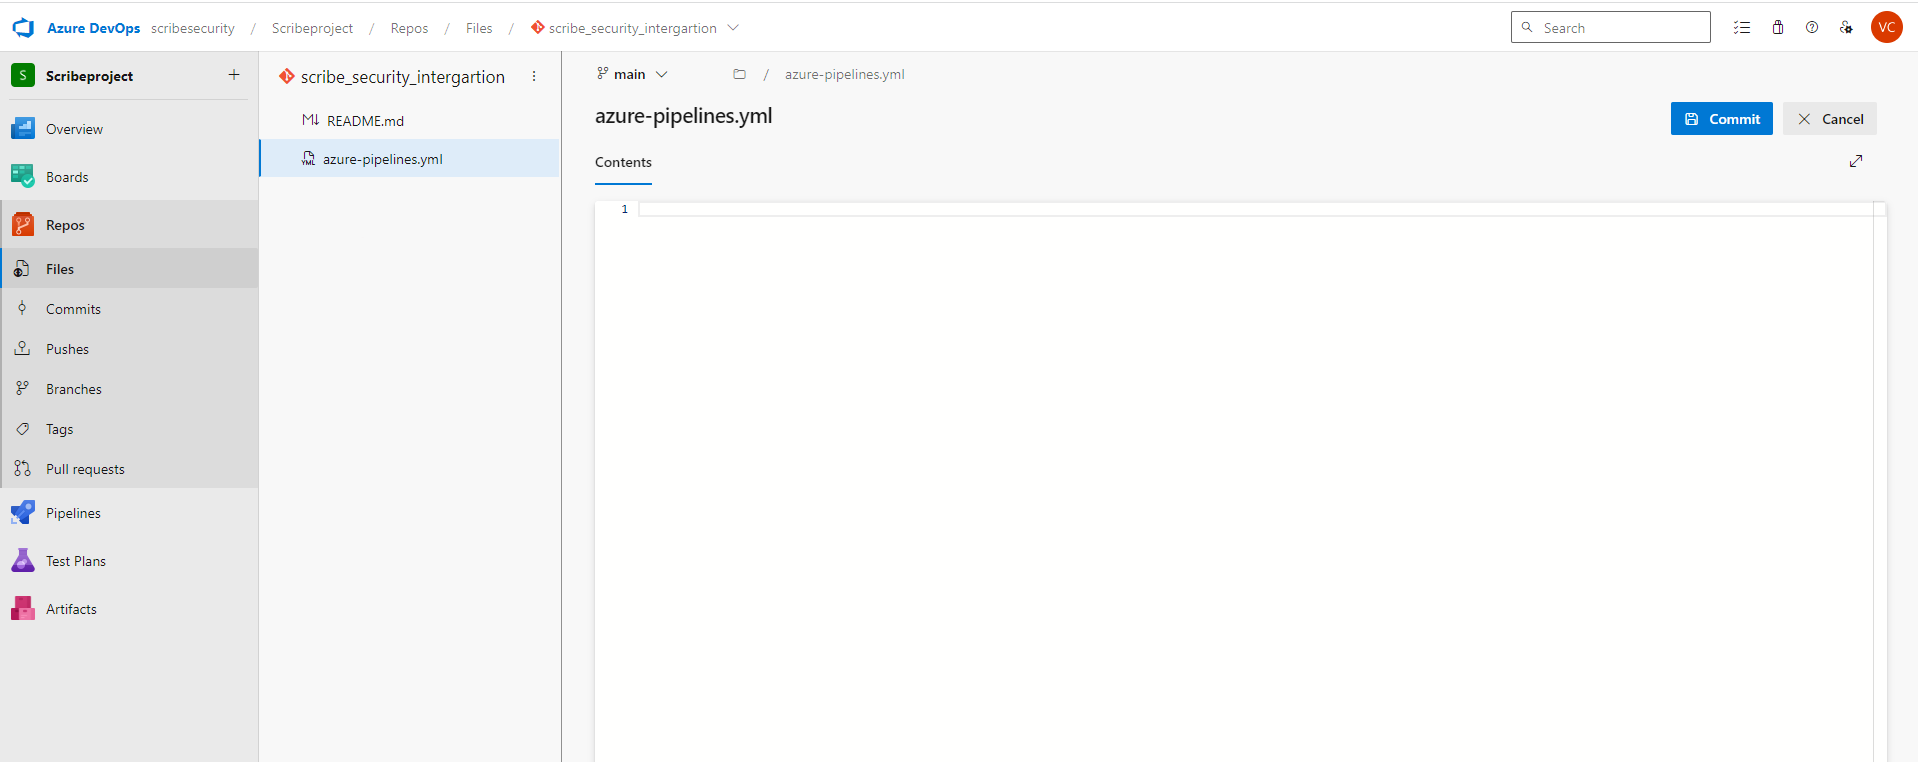
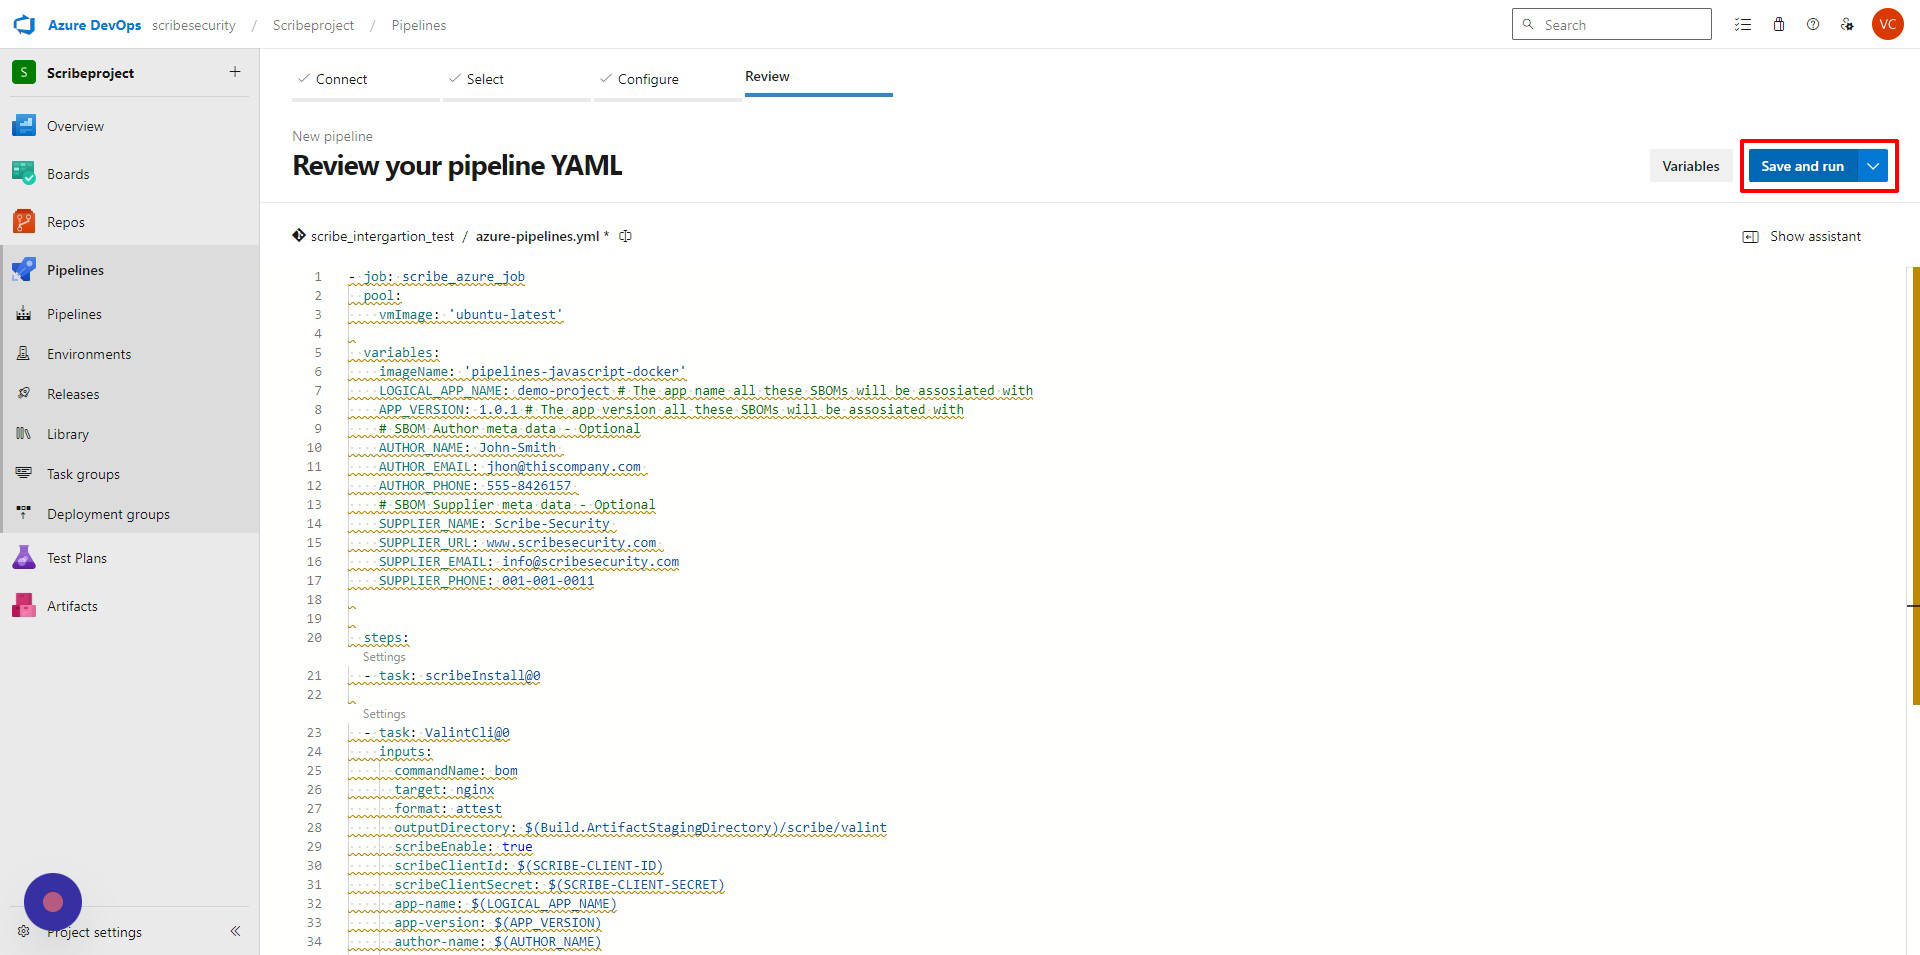
- Open your Azure DevOps project repository and make sure you have a YAML file named
azure-pipelines.ymlOr just click onCreate a new pipeline.
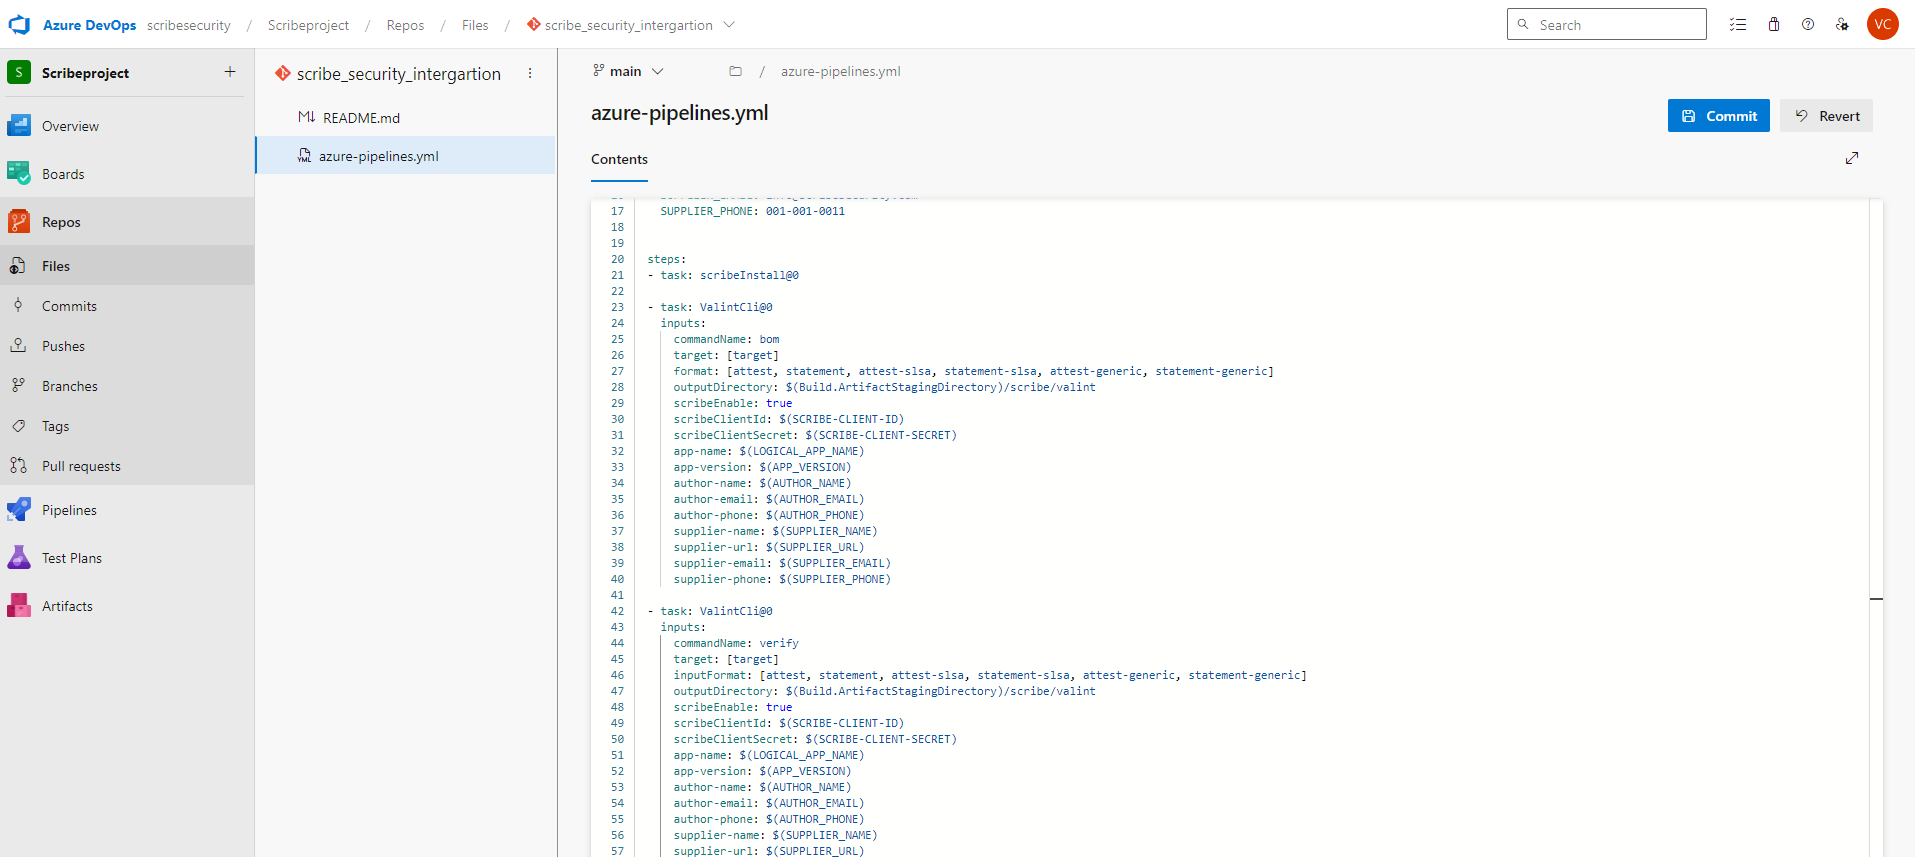
- Add the Scribe code example shown below to your
azure-pipelines.ymlfile.
trigger:
  branches:
    include:
    - main

jobs:
- job: scribe_azure_job
  displayName: 'Scribe Azure Job'
  pool:
    name: {Update pool name here}		# Example: Mikey
    agent: {Update agent name here}		# Example: azure-runner-ubuntu

  variables:
    imageName: 'pipelines-javascript-docker'

  steps:
  - task: scribeInstall@0

  - task: ValintCli@0
    inputs:
      command: bom
      target: nginx
      format: statement
      outputDirectory: $(Build.ArtifactStagingDirectory)/scribe/valint
      scribeEnable: true
      scribeClientId: $(CLIENTID)
      scribeClientSecret: $(CLIENTSECRET)

  - task: ValintCli@0
    inputs:
      command: verify
      target: nginx
      inputFormat: statement
      outputDirectory: $(Build.ArtifactStagingDirectory)/scribe/valint
      scribeEnable: true
      scribeClientId: $(CLIENTID)
      scribeClientSecret: $(CLIENTSECRET)
-
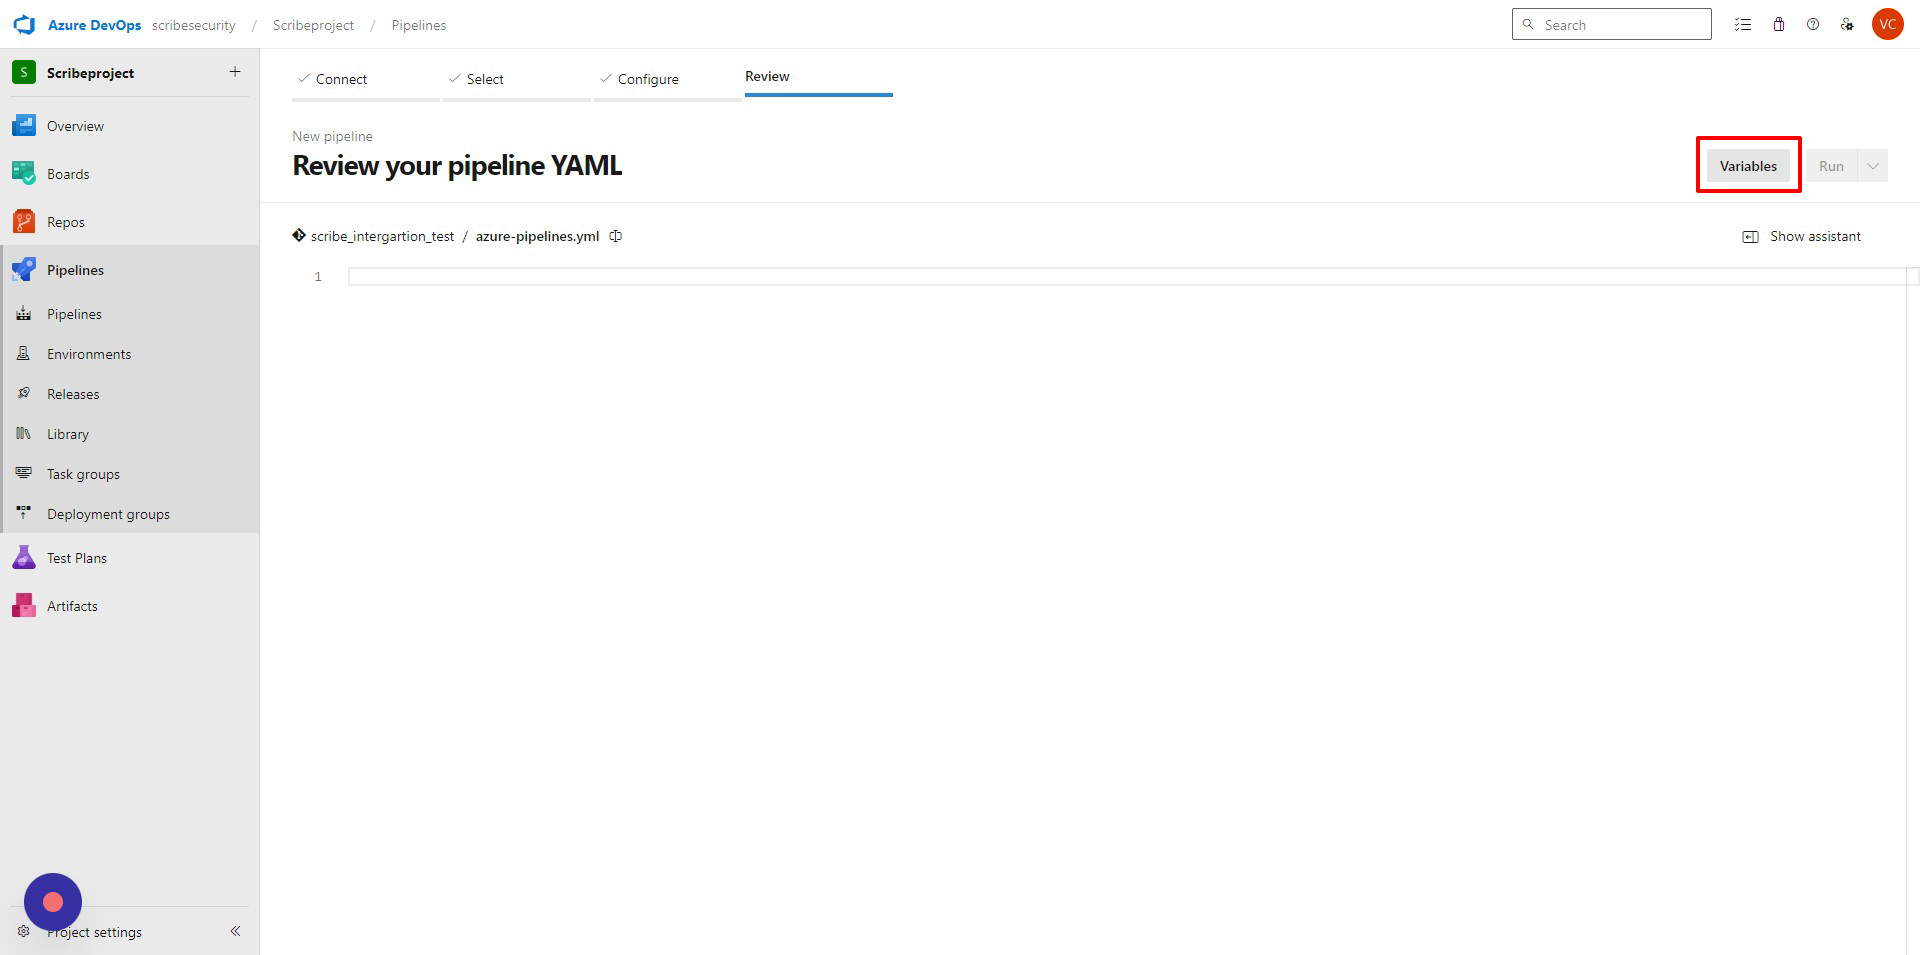
Add the credentials to your Azure environment according to the Azure DevOps - Set secret variables:
-
Go to the Pipelines page, select the appropriate pipeline, and then select Edit.
-
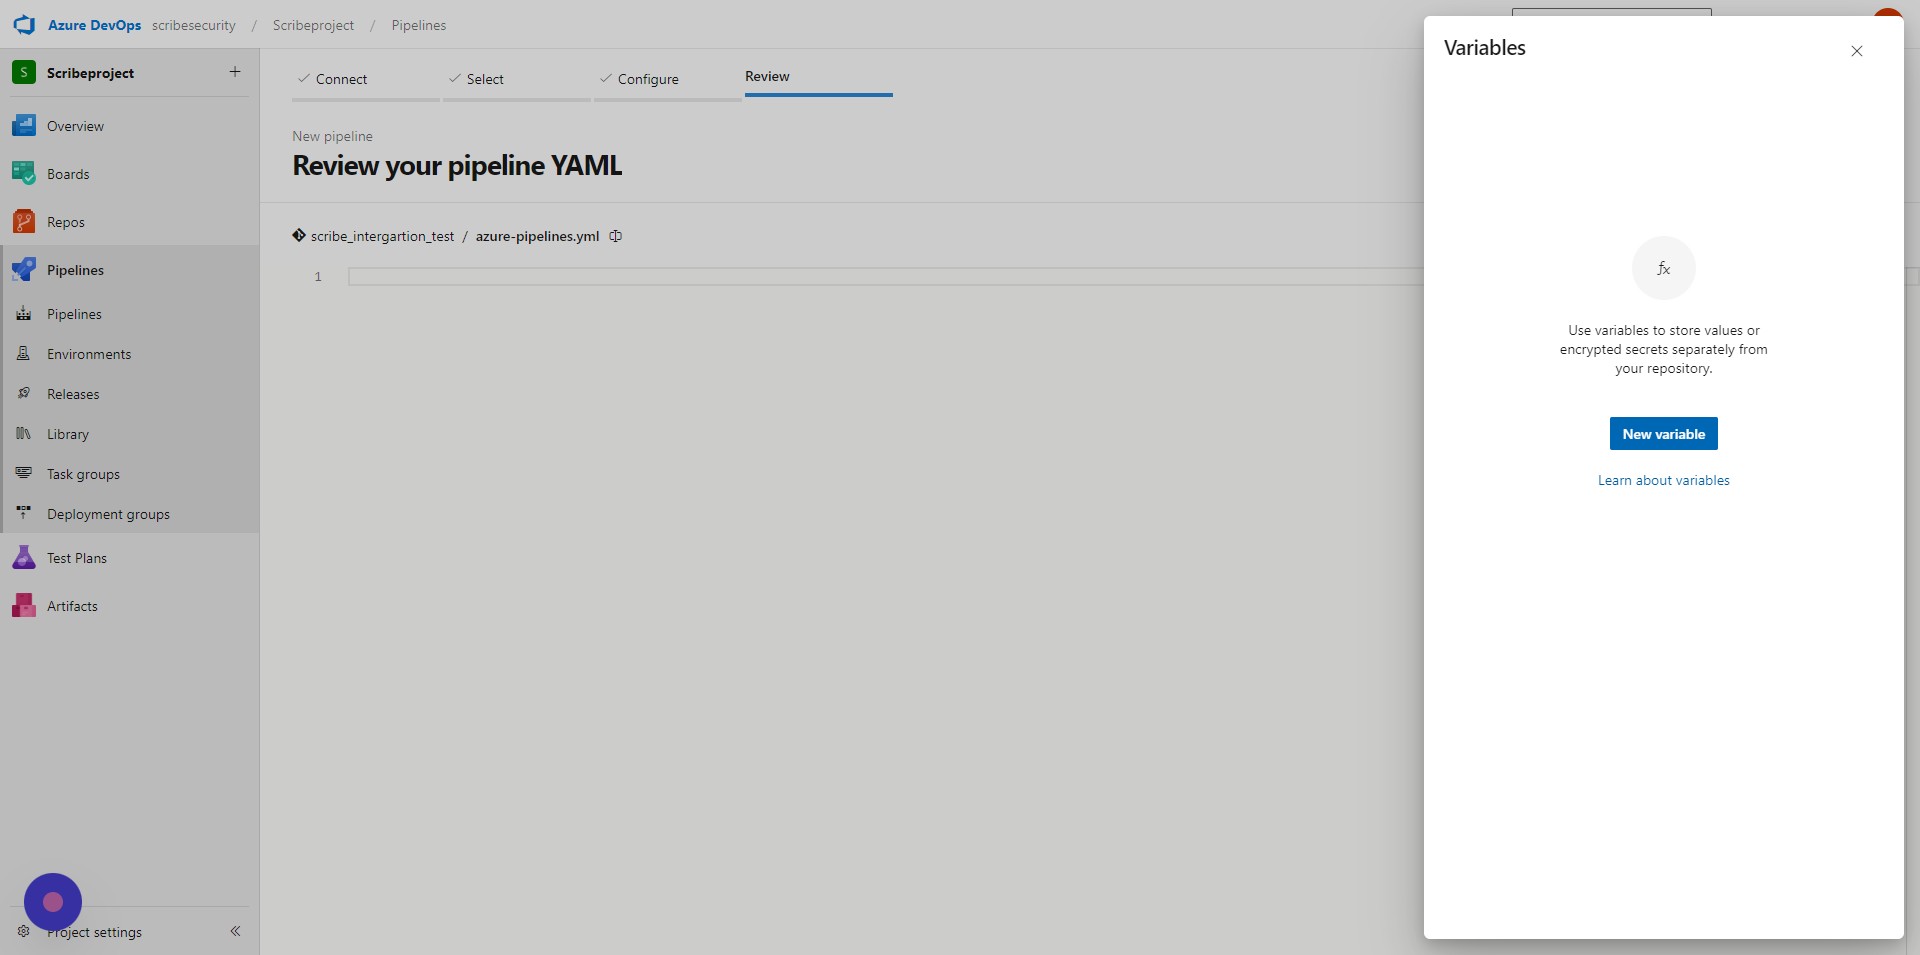
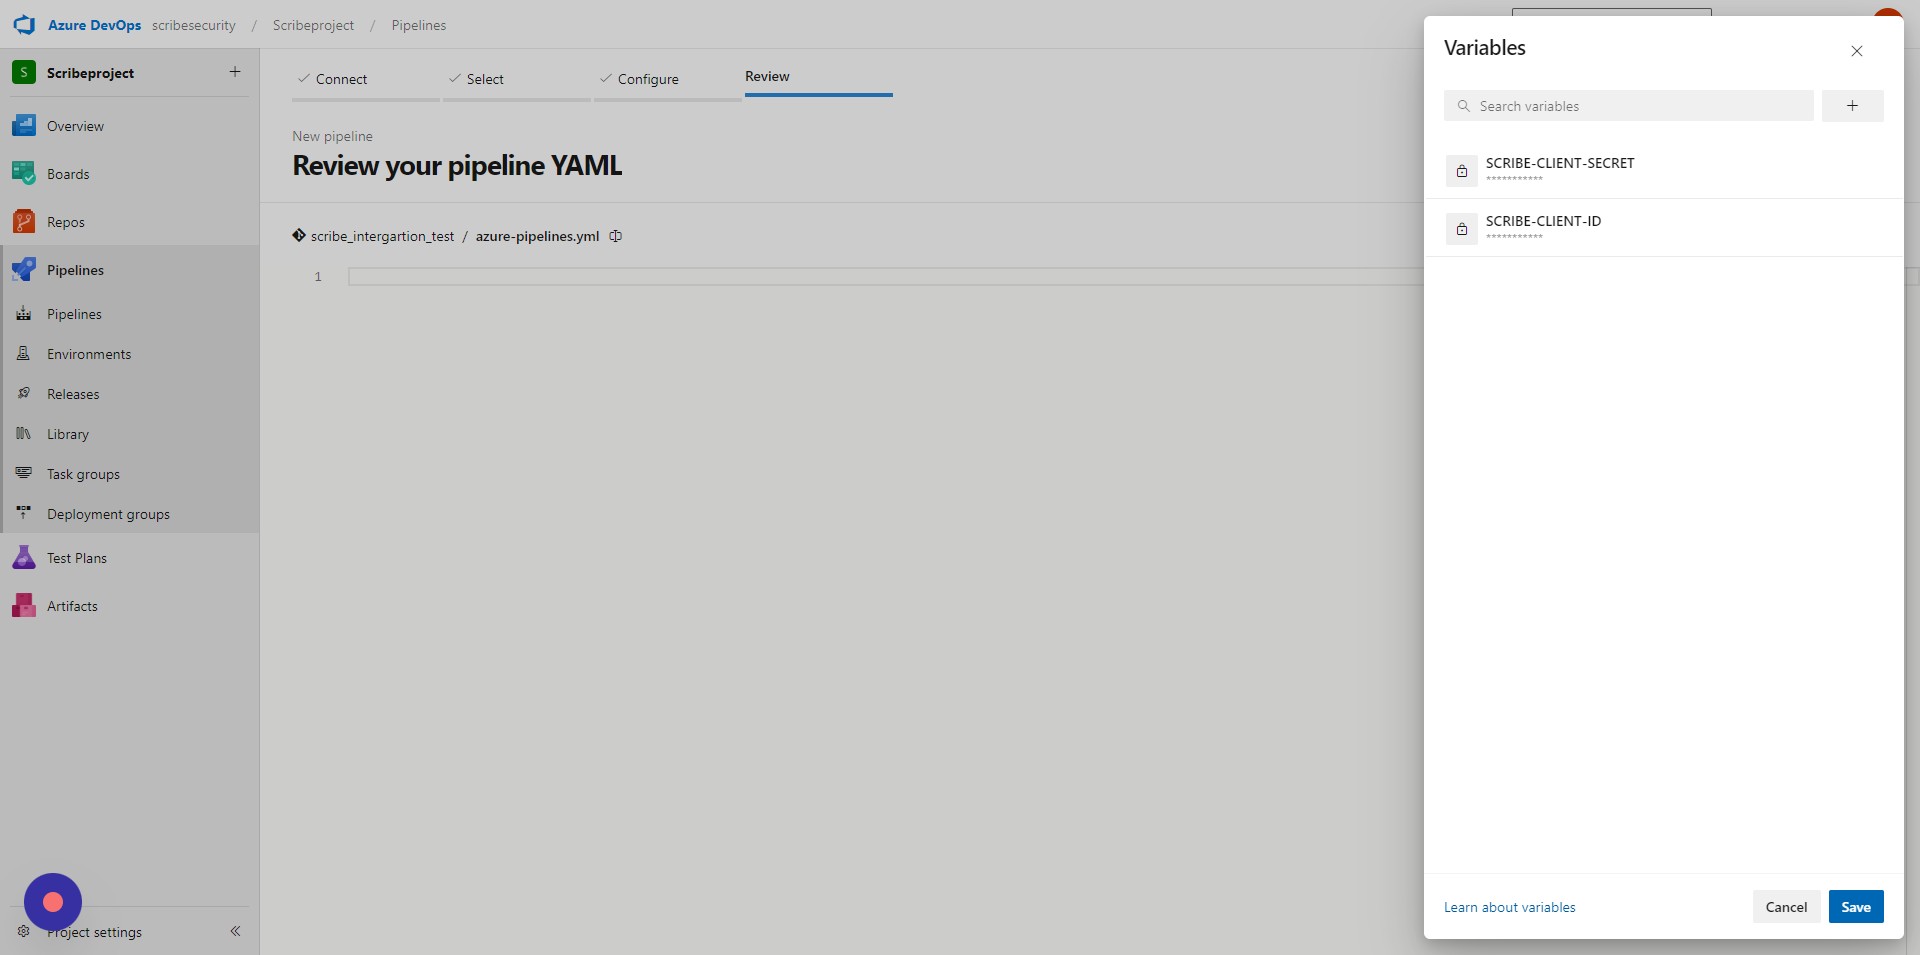
Locate the Variables for this pipeline.
-
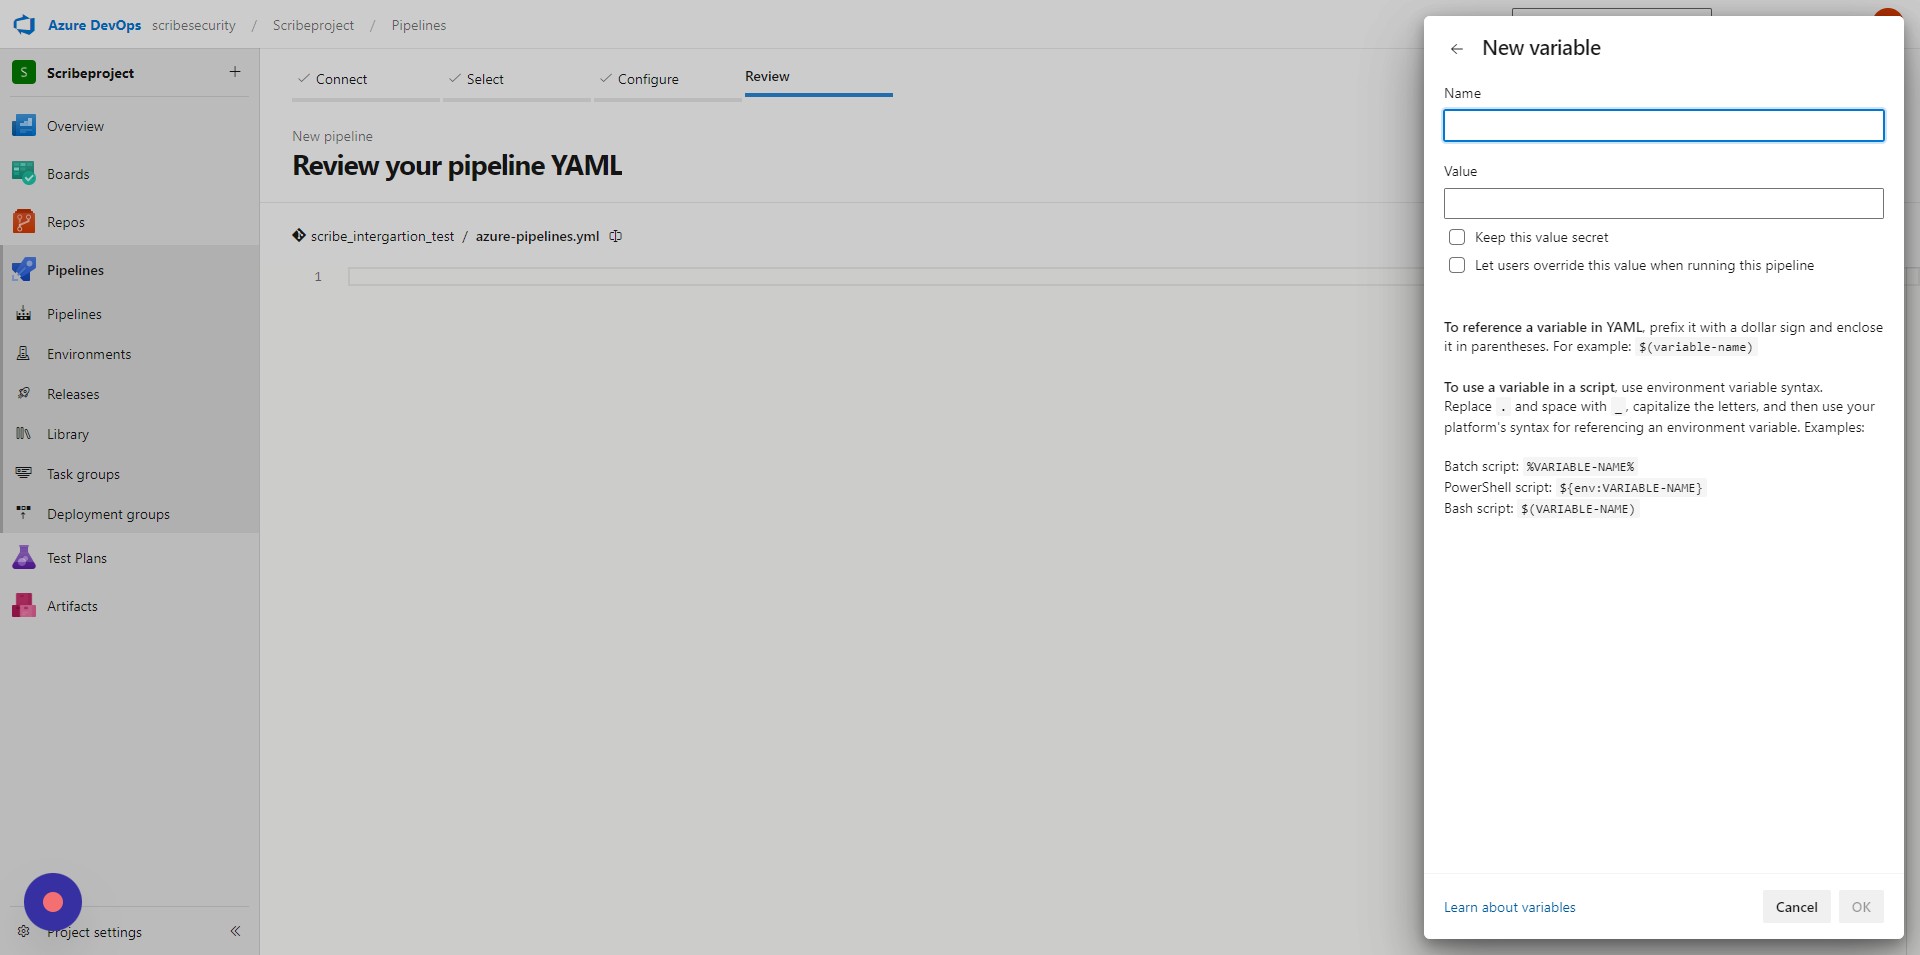
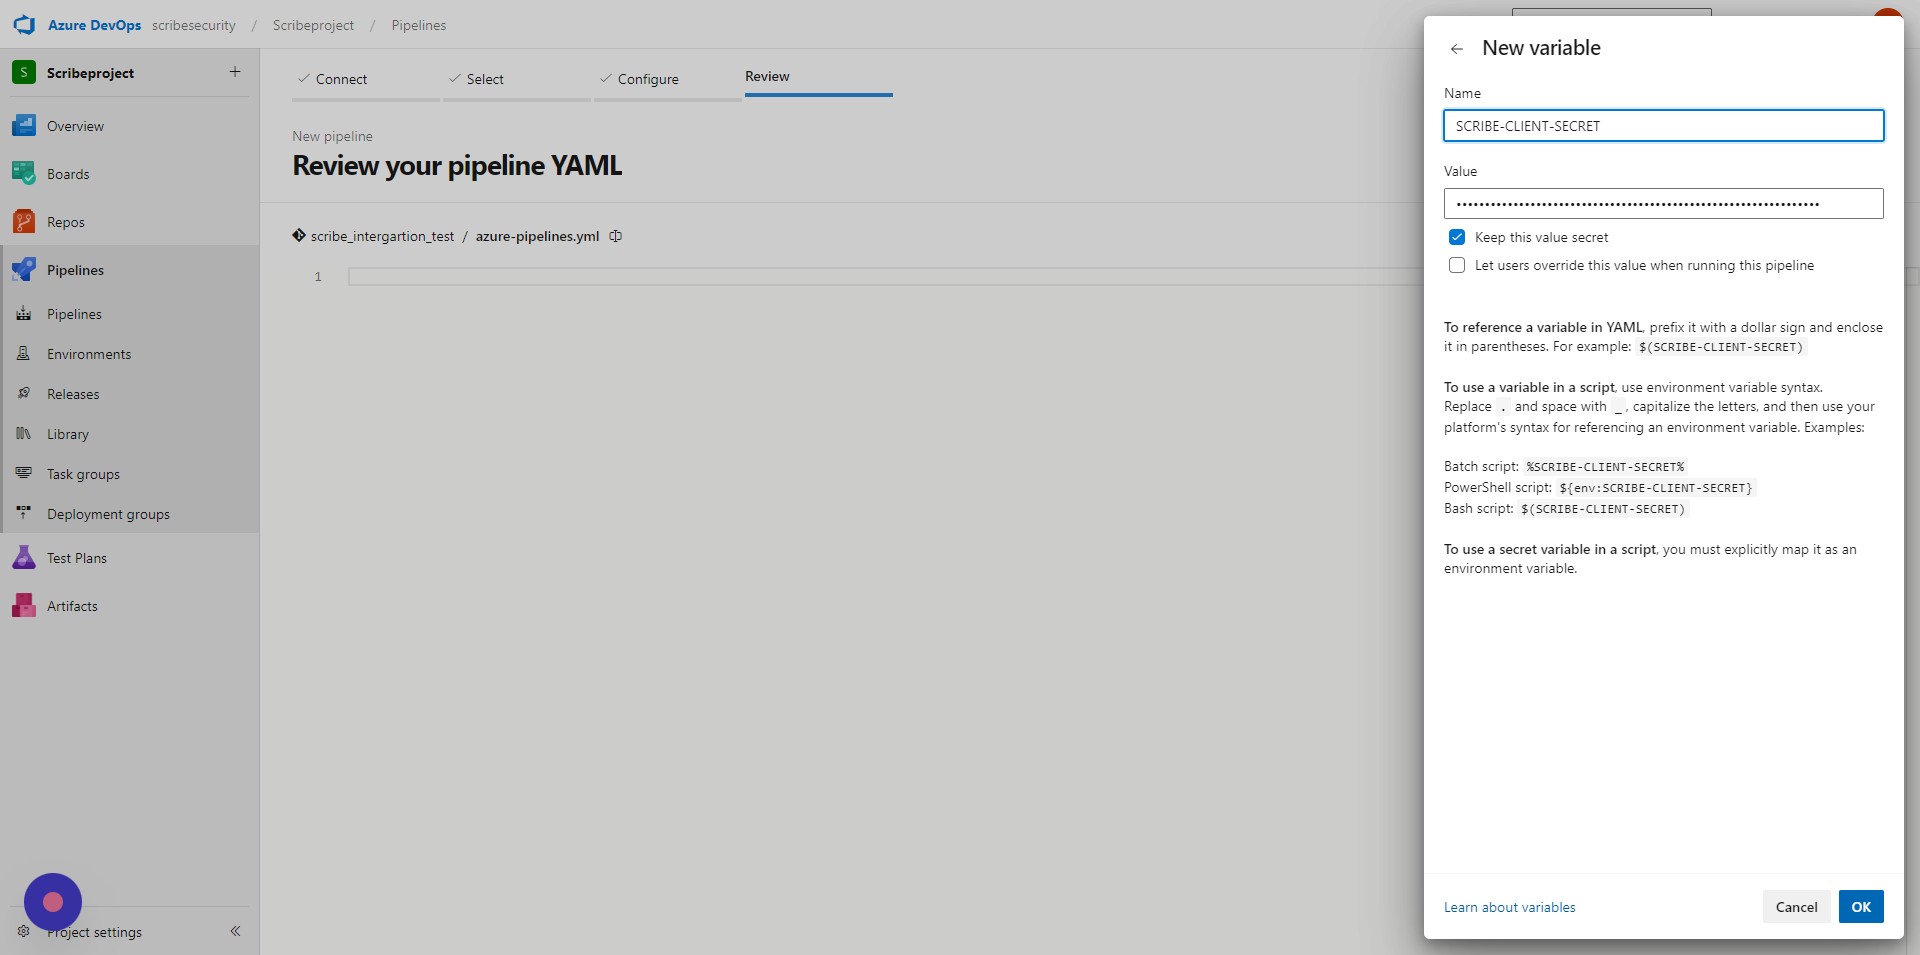
Add or update the variable.
-
Select the Secret lock icon to store the variable in an encrypted manner.
-
Save the pipeline.
-
-
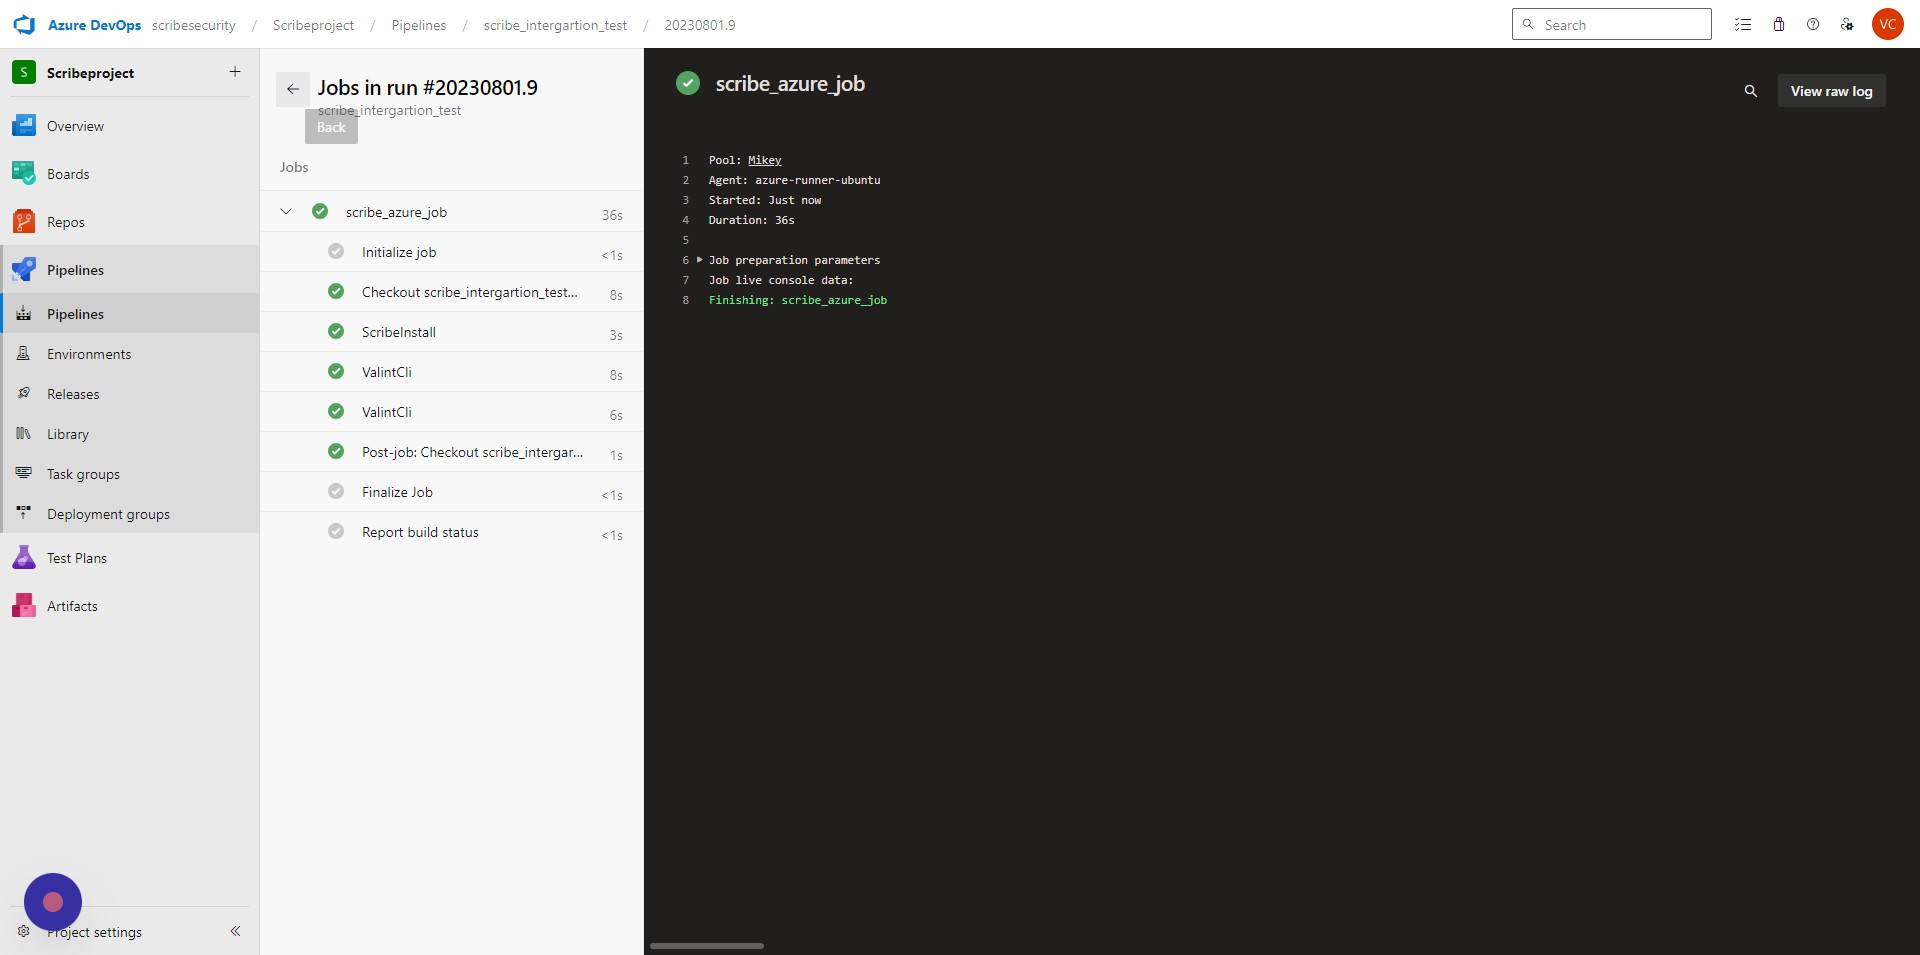
You can now run the pipeline you created for your repository.
-
To add your own policies to the pipeline check out this guide.
-
To capture 3rd party tool results in the pipeline and turn it into evidence, check out this guide.
Where to go on Scribe Hub
Now that you've created your first set of evidence you can log into your Scribe Hub to view the results.
The first place you can look into to make sure your evidence has been uploaded properly is the Evidence report. The evidence report shows all the evidence you have collected and uploaded to Scribe Hub from all your pipelines and projects.
To see more details on your pipeline you can check out the Product page
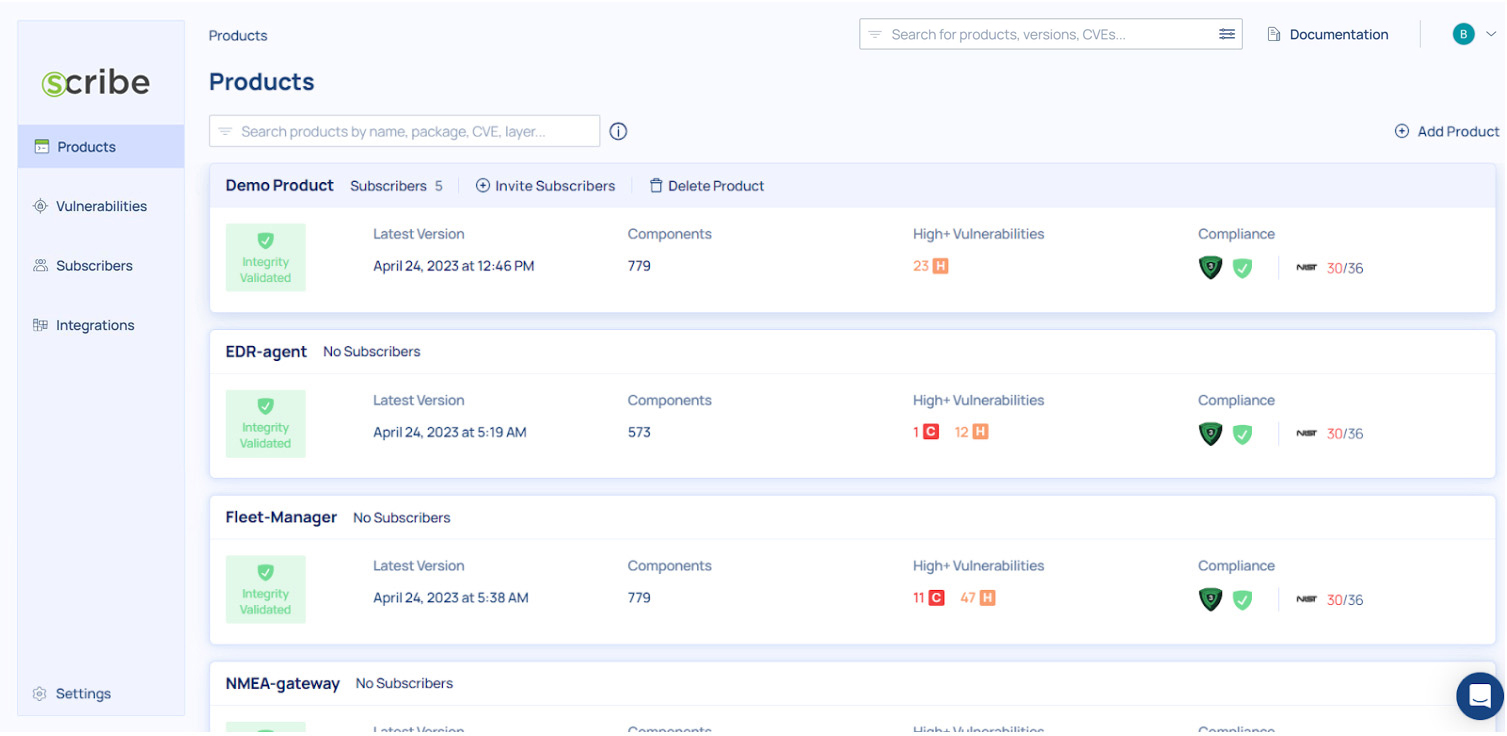
The products page shows you your products along with some basic information: How many subscribers have you added to this product, when the latest version of it was created (the last pipeline run), how many components were identified in the project, if the source code integrity was verified or not, how many high (or higher) vulnerabilities were identified, and how the project stands in terms of compliance to the SSDF and SLSA frameworks.
Clicking on a product will show you all the product's builds and their information:
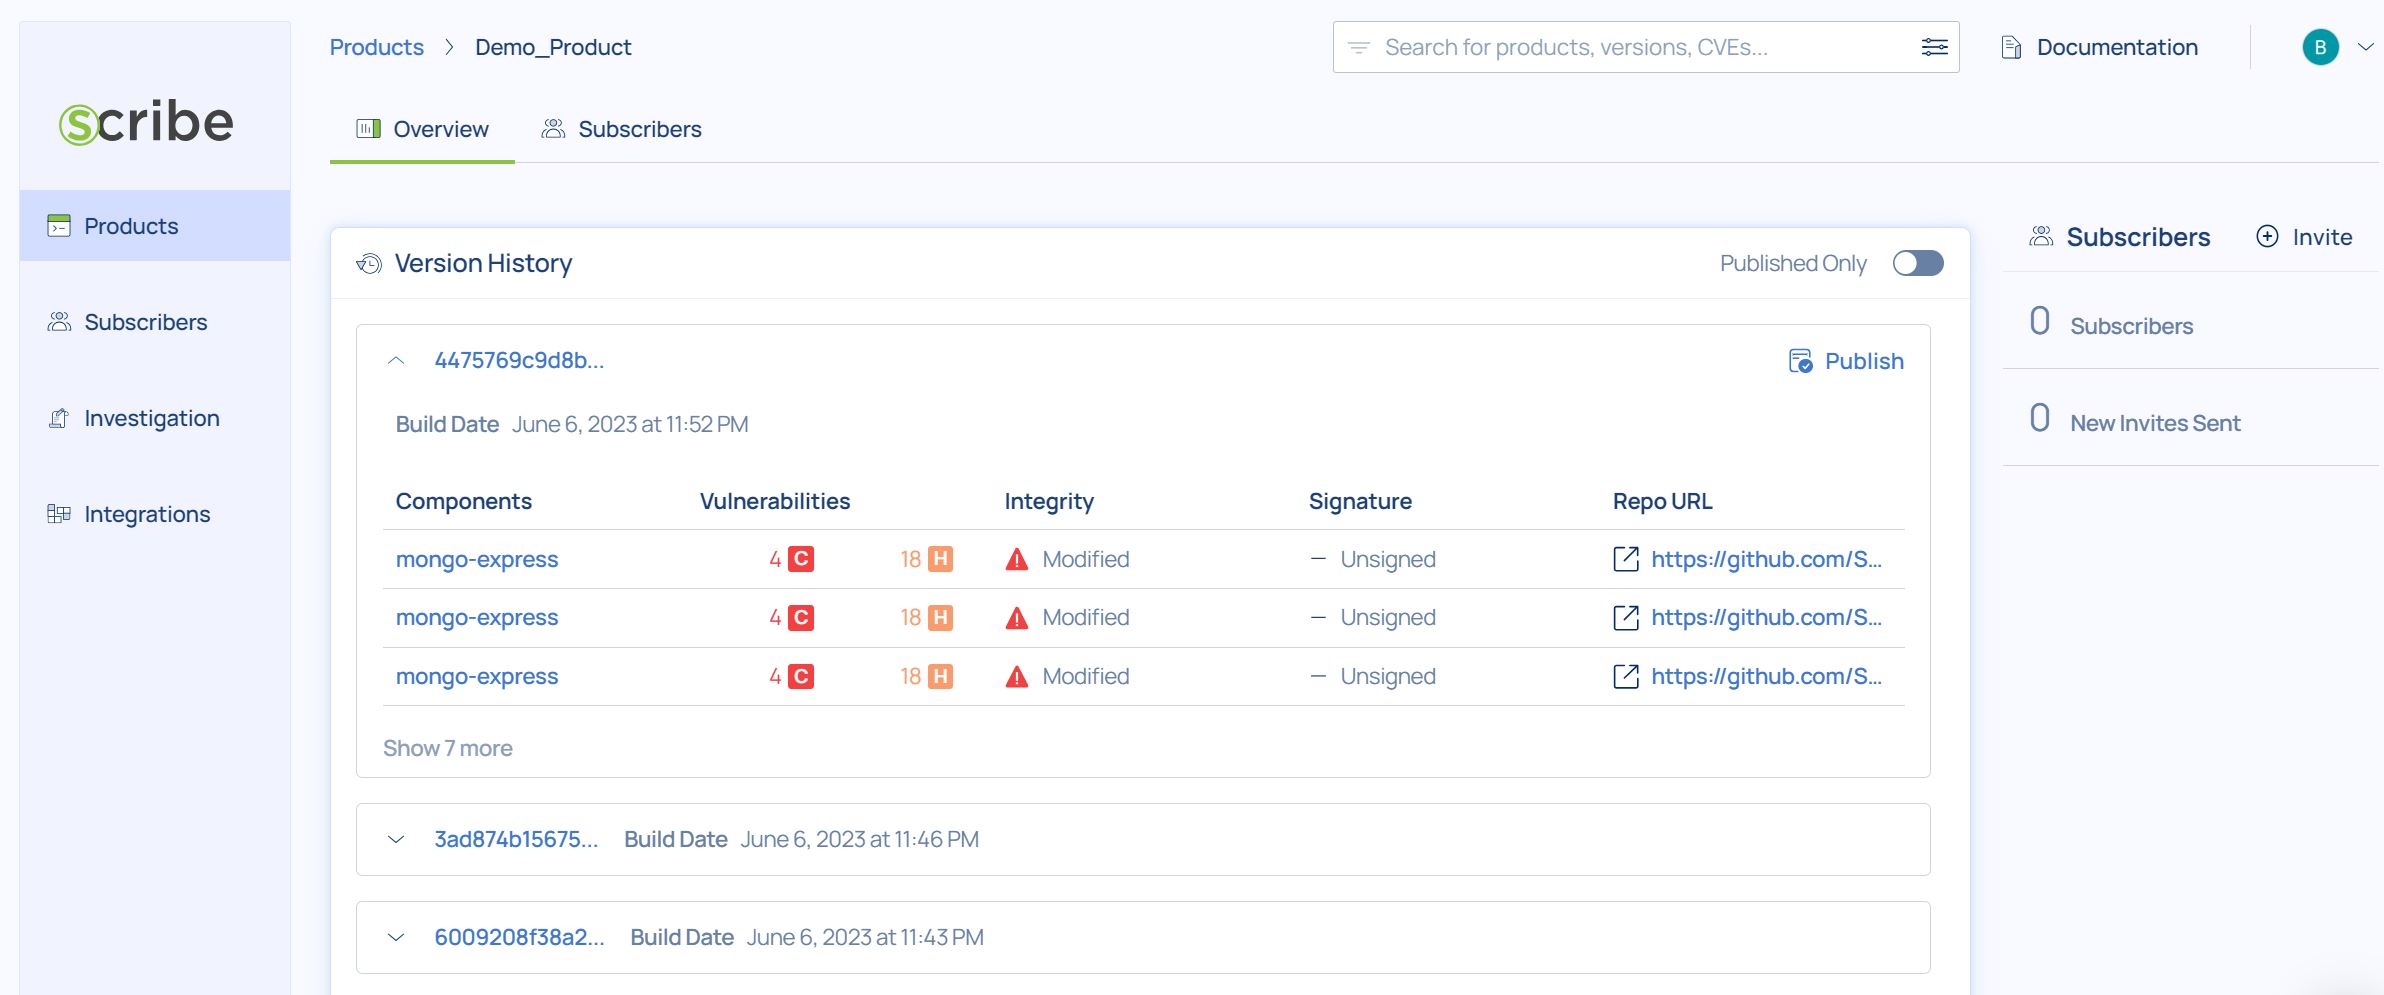
For each build you can see its version ID, the build date, if the source code integrity was verified or not, the number and severity of vulnerabilities, how that build stands in terms of compliance, whether the build was published and if its signature was verified.
for more information on the pipeline you just completed, click on the last build uploaded (the top of the list) and you'll get to the build dashboard:
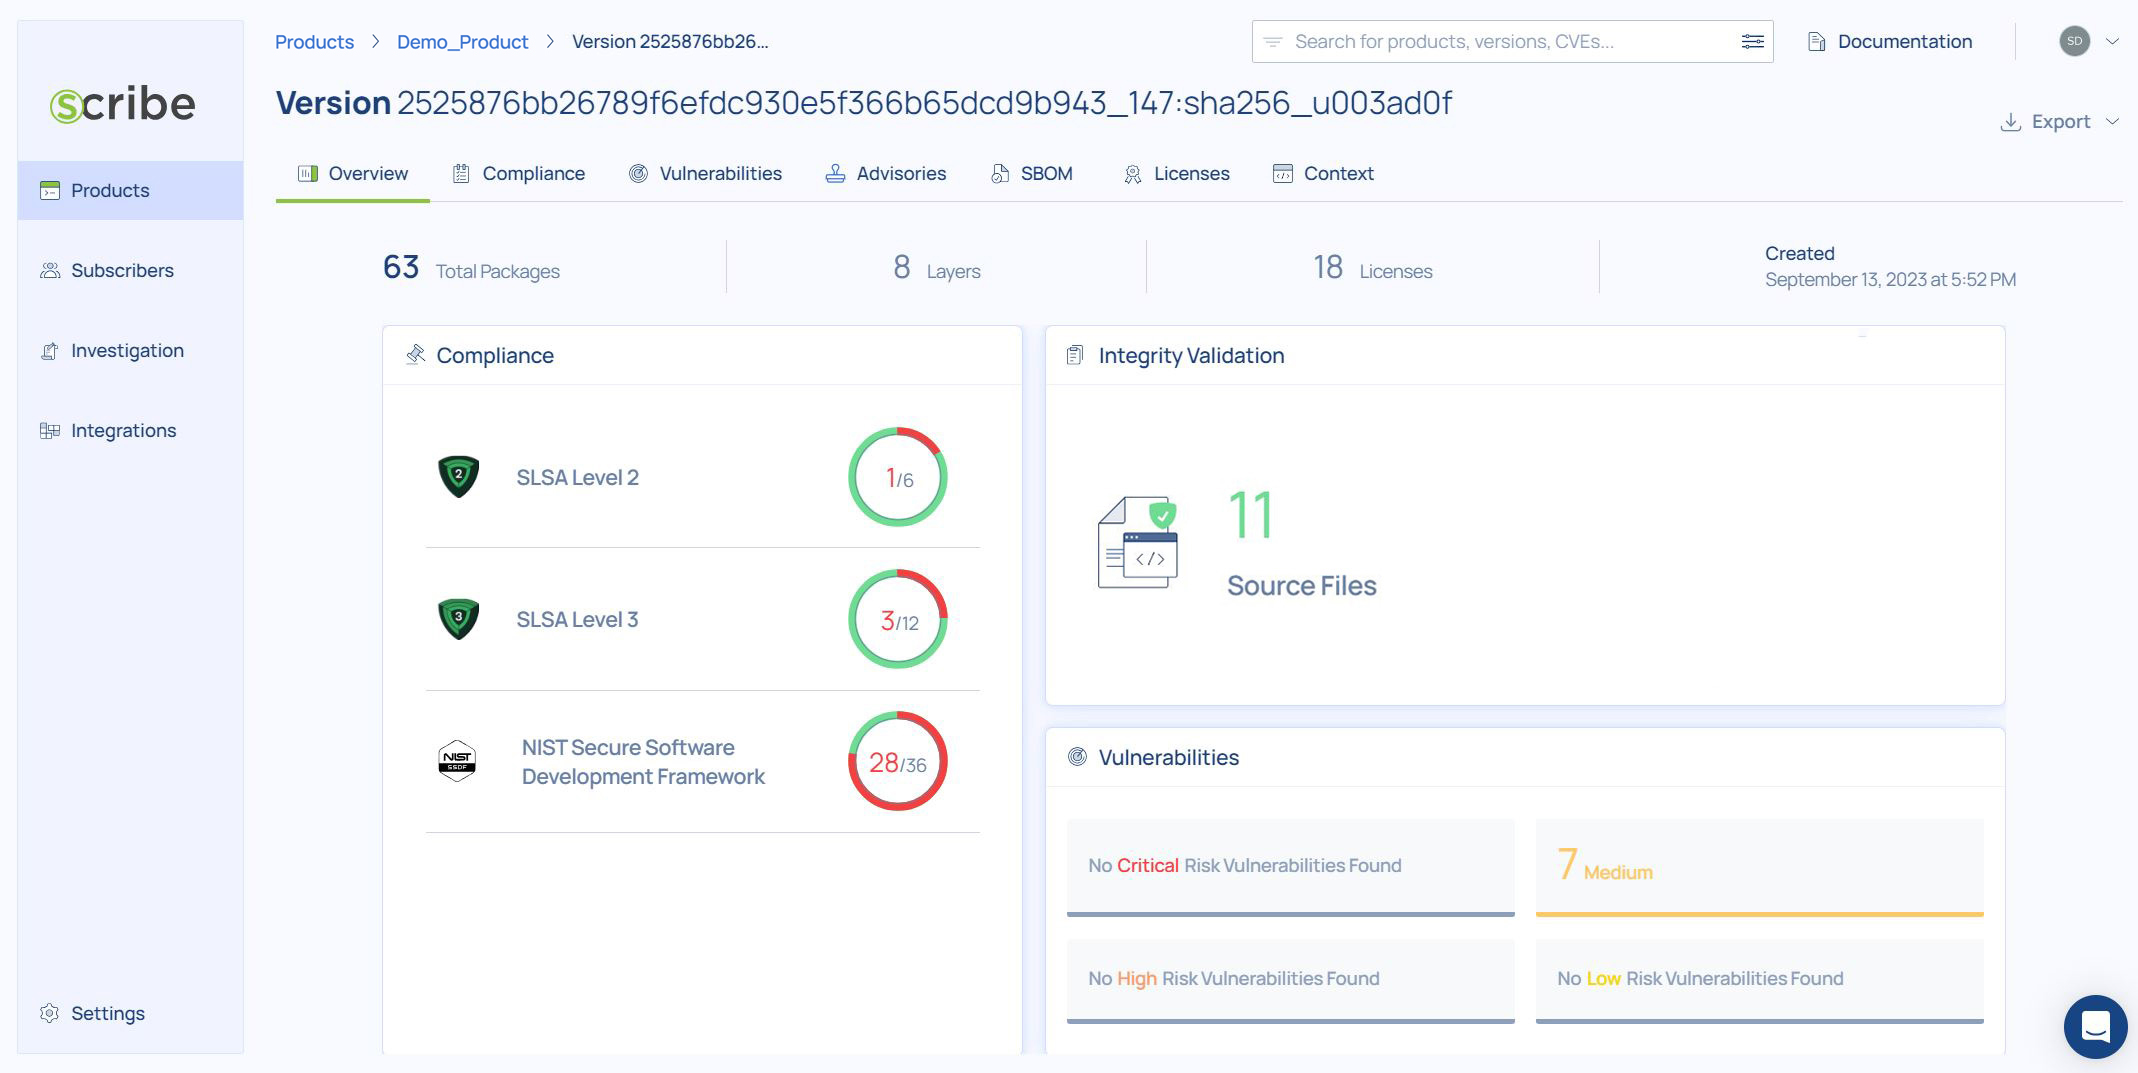
The dashboard is your main access to see this build's reports. You can see a summary of the build's compliance information to each of the frameworks, you can see a summary of the vulnerability information, and you can see the integrity validation information.
Where to go next
- To learn more about what you can see, learn, and access about your build and your product look at the reports guide section.
- To learn how to create and manage SBOMs and vulnerabilities go to this guide.
- To learn about Scribe's use of the SLSA framework go to this guide.
- To learn about enforcing SDLC policies go to this guide.
- To learn how to achieve SSDF compliance go to this guide.
- To learn how to secure your builds go to this guide.