Signing code, evidence, and maintaining build integrity
Attesting to the software supply chain integrity
An attestation is a cryptographically signed, authenticated set of evidence from the software supply chain. Scribe’s Valint tool (CLI tool or plugin to CI systems) gathers evidence such as file hashes, identities, SBOM, and Provenance Documents and utilizes both attestations (signed) and statements (unsigned) to help validate the integrity and policy compliance of your supply chain.
Once signed, you can later verify that the artifact metadata you have signed about file or folder, or image is intact and trustworthy.
Scribe formats evidence and attestations according to the in-toto format.
Default configuration
You can select out of a set of built-in Valint configurations.
Use flag --attest.default with the following values:
SigstoreSigstore public instanceSigstore-githubGithub workfload identityX509X509 local keys or X509 environment keys
Sigstore public instance
Sigstore signer and verifier allow you to use ephemeral short living keys based on OIDC identity (Google, Microsoft, GitHub). Sigstore will also provide a transparency log for any one to verify your signatures against rekor.
Use flag --attest.default=sigstore.
Default configuration:
attest:
  cocosign:
    signer:
      fulcio:
        enable: true
        url: https://fulcio.sigstore.dev
        oidc:
          auth: interactive
          issuer: https://oauth2.sigstore.dev/auth
          clientid: sigstore
    verifier:
      fulcio:
        enable: true
    storer:
      rekor:
        enable: true
        url: https://rekor.sigstore.dev
        disablebundle: false
Sigstore public instance - GitHub workflow identity
Sigstore signer and verifier allow you to use ephemeral short living keys based on OIDC identity (Google, Microsoft, GitHub). Sigstore will also provide a transparency log for any one to verify your signatures against rekor.
Use flag --attest.default=sigstore-github.
Configuration example:
attest:
  cocosign:
    signer:
      fulcio:
        enable: true
        url: https://fulcio.sigstore.dev
        oidc:
        auth: provider
        issuer: https://token.actions.githubusercontent.com
        clientid: sigstore
    verifier:
      fulcio:
        enable: true
X509 local keys
X509 signer allow you to use local keys, cert and CA file to sign and verify you attestations. You may can use the default x509 cocosign configuration flag.
Use flag --attest.default=x509.
valint bom busybox:latest -o attest --attest.default x509
valint verify busybox:latest --attest.default x509
Default Configuration is set to the following, customize by using --ca, --cert, --key and --crl respectifully.
attest:
  default: x509 # Set by attest.default flag.
  cocosign:
    signer:
      x509:
        enable: true
        private: /etc/cocosign/keys/private/default.pem
        cert: /etc/cocosign/keys/public/cert.pem
        ca: /etc/cocosign/keys/public/ca.pem
    verifier:
      x509:
        enable: true
        cert: /etc/cocosign/keys/public/cert.pem
        ca: /etc/cocosign/keys/public/ca.pem
        crl: /etc/cocosign/keys/public/crl.pem
X509 environment keys
X509 Signer enables the utilization of environments for supplying key, certificate, and CA files in order to sign and verify attestations. It is commonly employed in conjunction with Secret Vaults, where secrets are exposed through environments.
path names prefixed with env://[NAME] are extracted from the environment corresponding to the specified name.
export ATTEST_CERT=$(cat /etc/cocosign/keys/public/cert.pem)
export ATTEST_KEY=$(cat /etc/cocosign/keys/private/default.pem)
export ATTEST_CA=$(cat  /etc/cocosign/keys/public/ca.pem)
export ATTEST_CRL=$(cat  /etc/cocosign/keys/public/crl.pem)

valint bom busybox:latest -o attest
valint verify busybox:latest
Configuration File, .valint.yaml example
attest:
  cocosign:
    signer:
      x509:
        enable: true
        private: env://ATTEST_KEY
        cert: env://ATTEST_CERT
        ca: env://ATTEST_CA
    verifier:
      x509:
        enable: true
        ca: env://ATTEST_CA
        crl: env://ATTEST_CRL
Custom Configuration
Edit your main configuration, add the following subsection. For full configuration details see configuration-format
Usage
attest:
   default: "" #Custom cocosign configuration
   cocosign:
       signer:
           x509:
               enable: true
               private: ./private/key.pem
       verifier:
           x509:
               enable: true
               cert: ./public/cert.pem
               ca: ./public/ca.pem
               crl: ./public/crl.pem
Use flag --attest.config to provide an external Cocosign config.
Supported types of signers and verifiers
KMS
Scribe utilizes Sigstore’s implementation for signing with keys from KMS.
Configuration:
- Default - KMSREF environment
- Static ref set by configuration of env.
- In-band ref verification flow by using the REF signature option
Fulcio
Scribe utilizes Sigstore Fulcio signer to sign in-toto statements by ad-hoc short-lived certificates signed with your OIDC identity. Supported modes:
- Interactive - User must authorize the signature via browser, device or security code url.
- Token - Static OIDC identity token provided provided by an external tool.
- Built-in identity providers flows
- google-workload-identity
- google-impersonate
- github-workload-identity
- SPIFFE
- google-impersonate-cred (GOOGLE_APPLICATION_CREDENTIALS)
X509
File-based key management, abstracting the key type from applications (TPM supported as well).
Signing And Verifying Evidence
Valint [Bom,Slsa, Evidence] commands output format -o, --format as well as the Verify command -i, --input-format value must match one of the supported formats:
- statement
- attest
Signing the result Valint Bom command into an attestation
Run the valint bom [target] -o [format] command on one of the format options above. target options:
valint bom docker:yourrepo/yourimage:tag          explicitly use the Docker daemon
valint bom docker-archive:path/to/yourimage.tar   use a tarball from disk for archives created from "docker save"
valint bom oci-archive:path/to/yourimage.tar      use a tarball from disk for OCI archives (from Skopeo or otherwise)
valint bom dir:path/to/yourproject                read directly from a path on disk (any directory)
valint bom registry:yourrepo/yourimage:tag        pull image directly from a registry (no container runtime required)
valint bom file:path/to/yourproject/file          read directly from a path on disk (any single file)
valint bom git:path/to/yourrepository             read directly from a local repository on disk
valint bom git:path/to/yourrepository.git         read directly from a remote repository on git
When using the Bom command on an image you are not required to specify a tag such as with docker or oci-archive. Valiant will reference the default image. However, use a tag for a file or a git repository target.
Besides the Bom command, you should always distinctly specify the flag -o with the one of attest-cyclonedx-json or attest-slsa when you require signing the evidence as an attestation.
For example, if you want to Bom the image of busybox:latest the command looks as follows:
$HOME/.scribe/bin/valint bom busybox:latest -o attest -f
Where the attest argument is an alias for attest-cyclonedx-json.
By default, Valint uses Sigstore interactive flow for signing. After you set the command approve that you require to sign the evidence (Y/[N]):
[2023-01-10 09:35:35]  INFO target: collecting context, Type: local
[2023-01-10 09:35:36]  INFO target: analyzing docker:busybox:latest
[2023-01-10 09:35:37]  INFO target: docker:busybox:latest analyzing success
[2023-01-10 09:35:37]  INFO cocosign: config selection, default: sigstore, Scheme: docker
[2023-01-10 09:35:37]  INFO disabled: ociStorer, Storer skipping,
[2023-01-10 09:35:37]  INFO enabled: rekorStorer, using storer
Retrieving signed certificate...

     Note that there may be personally identifiable information associated with this signed artifact.
     This may include the email address associated with the account with which you authenticate.
     This information will be used for signing this artifact and will be stored in public transparency logs and cannot be removed later.
     By typing 'y', you attest that you grant (or have permission to grant) and agree to have this information stored permanently in transparency logs.

Are you sure you want to continue? (y/[N]):
Change this default, in the configuration file options: Sigstore, Sigstore-github, x509 (public key certificates) or KMS (key management system). You can check out the configuration file here.
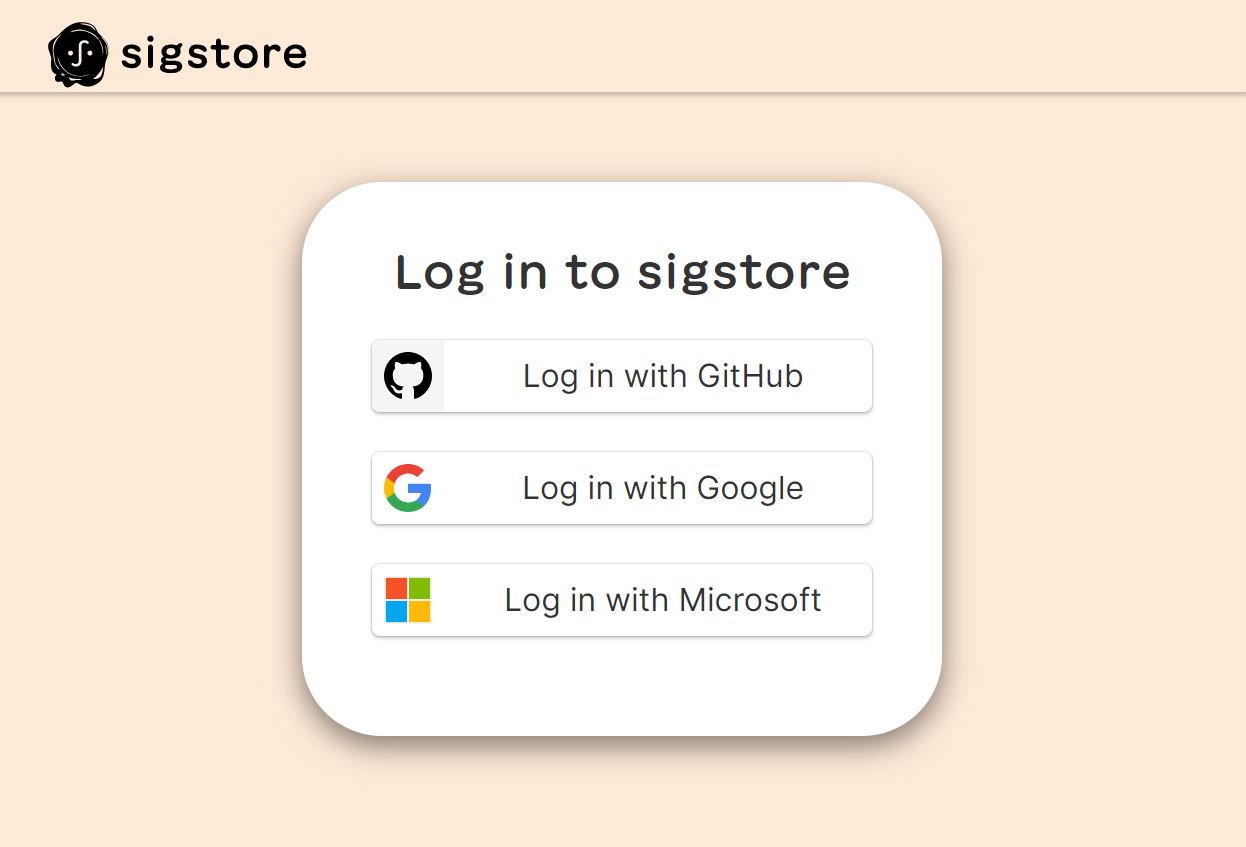
After you approve, you'll be directed to Sigstore in your browser where you'll need to log in using either your GitHub account, your Google account, or your Microsoft account:
Once you have signed in you'll see that the login was successful
at which point you can close the browser page and go back to your Shell
Successfully verified SCT...
INFO enabled: fulcioSigner, using signer
INFO enabled: fulcioVerifier, using verifer
tlog entry created with index: 10855458 c0d23d6ad406973f9559f3ba2d1ca01f84147d8ffc5b8445c224f98b9591801d
INFO storer: upload success, Storer: rekorStorer
sign success - TRUSTED CA signature, Signer trust: fulcioSigner, CN: sigstore-intermediate, Emails: [user@example.com]
INFO output: File write to FS, Path: $HOME/.cache/valint/docker/busybox/latest/sha256-9810966b5f712084ea05bf28fc8ba2c8fb110baa2531a10e2da52c1efc504698.bom.sig.json
INFO scribe: client disabled
INFO attest: evidence generated successfully
Attestation is written by default to the local cache provided by the --output-directory flag (default $HOME/.cache/valint), you can also use --output-file flag to provide a custom path for the attestation.
Note in the logs that the signed attestation is now saved on your machine in the default location. The path is specified in the result. In the example above it's saved in: $HOME/.cache/valint/docker/busybox/latest/sha256-9810966b5f712084ea05bf28fc8ba2c8fb110baa2531a10e2da52c1efc504698.bom.sig.json.
Verify the result of Valint bom
Once you have signed something into an attestation you can later verify that the object you're checking is identical to the one you have signed. For example, if we signed the busybox:latest image I can later compare that image to the signed attestation we have saved.
Without access to the signed attestation there is nothing to verify against.
The command to verify something is logically named verify. The way to use it is almost identical to the bom command except we'll be using the flag -i (default attest-cyclonedx-json alias attest).
For example, to verify the busybox:latest image we have signed in the previous example the command looks as follows:
$HOME/.scribe/bin/valint verify busybox:latest -i attest
Of course, note that you should have first create the evidence using valint bom busybox:latest -o attest
The verify command's default value of the i flag is attest so you can omit it.
The result looks as follows:
INFO cocosign: config selection, default: sigstore, Scheme: docker
INFO disabled: ociStorer, Storer skipping,
INFO enabled: rekorStorer, using storer
INFO enabled: fulcioVerifier, using verifer
INFO rekor: verify offline success (bundle)
INFO rekor: download cert, CN: sigstore-intermediate, Emails: [user@example.com]
INFO attest: verify success - TRUSTED CA signatures, Verifier trust: fulcioVerifier, CN: sigstore-intermediate, Emails: [user@example.com], URIs: []
INFO rekor: verify offline success (bundle)
INFO attest: verify attestation success
INFO attest: verify policy success, Policies: []
INFO verify: success, Type: attest-cyclonedx-json Path: $HOME/.cache/valint/docker/busybox/latest/sha256-9810966b5f712084ea05bf28fc8ba2c8fb110baa2531a10e2da52c1efc504698.bom.sig.json
- The
TRUSTED CA signatures, Verifier trust: fulcioVerifier, CN: sigstore-intermediate, Emails: [user@example.com], URIs: []which includes signers identity. - The
verify: success, Type: attest-cyclonedx-jsonat the end - that's what we're looking to see.
Maintaining Build Integrity
You can use Scribe to assure that your build is not modified maliciously in the build pipeline. This works as follows:
- Use Scribe Valint to sign every commit
- Use Valint to verify that the source code checked out by the build pipeline matches the signature.
- Scribe Hub will indicate that the source code checkout was matched.
- You can perform further custom comparisons in the ensuing build steps.
Configuration
- Signing commits - The following example GitHub workflow generates a signed SBOM after each commit. Note the mandatory Valint flag with "is_git_commit".
name: Create signed git commit sbom

on: push

build:
   runs-on: ubuntu-latest

   permissions:
     id-token: write # workload identity access needed for signing using sigstore-github

   steps:
   - uses: actions/checkout@v3

   - name: Generate signed git SBOM
     uses: scribe-security/action-bom@master
     with:
       target: 'git:.'
       product-key: ${{ github.repository }}
       scribe-client-secret: ${{ secrets.CLIENT_SECRET }}
       label: is_git_commit
       format: attest
- Verifying checkout - generate an SBOM of your checked-out repo. Example CLI command (See CI/CD Integrations for your specific CI system):
$HOME/.scribe/bin/valint bom dir:<path> \
--scribe.client-secret=$SCRIBE_TOKEN -f
- Generate an SBOM of the final Docker image was built so that Scribe Hub knows the build completed:
 $HOME/.scribe/bin/valint bom <your_docker_repository:tag> \
  --scribe.client-secret=$SCRIBE_TOKEN -f
Scribe Hub compares the checkout SBOM with the SBOM from the relevant commit. Note that the commit SBOM and the checkout SBOM must be generated from separate workflows. If one of these SBOMs isn't found, Scribe skips this integrity check.
The result would appear as part of your project icon:

This is how a specific validated build run would look:

In this example the project's source code integrity has been validated. If there is a problem you'll see this result:

And this is how a specific modified build run would look:

Clicking on the build run displays the breakdown of the integrity analysis.